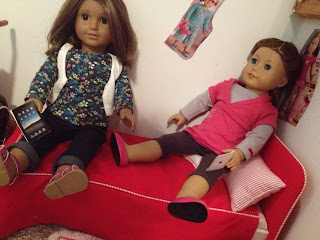
Here's what you will need:
Printer (color ink)
Glue or Tape
Scissors
Cardboard (cereal box, back of a notebook, folder, shoebox, etc.)
The first step is to print out the template. You can do this by copying this picture:
Next, you need to open a word document and paste the image. (for example; Microsoft word, word pad, etc.)
Once the image is in the document, enlarge the image to the size you want. This is the size it will print out in, so make sure you like it. Tip: Put your dolls hand up to the screen and justify the size you want.
Print the document.
Now your template should look something like this:
The next step is to carefully cut out the front and back of the pictures. (You can discard the side view). Be super carefully, and try to get out as much white as you can, without snipping the images.

Once you have these pieces cut out, take your cardstock (cardboard) and line the iPad onto of it, in a corner, if possible. I am using an old school folder. Cut along the edges, being careful not to snip the iPad. This piece will act as a backbone, and will make the iPad less flimsy. When you're done cutting, you should be able to fit the cardstock right behind the iPad without being seen.
You should now have these pieces.
Finally, trim off any of the cardstock that could be sticking out.
That should be all for today! If you have a suggestion on what next week's DIY should be, send us an email at: weareag@outlook.com
Join us next time on DIY Mondays for another cool new craft! Happy crafting! -E


No comments:
Post a Comment